All photos are copyright Joseph S. Valencia, All Rights Reserved. They may not be used in any way without express written permission of the photographer. If you wish to use any of the photos you may contact the photographer at valencia32photo@gmail.com
Click on any image to see full-size - opens in a new tab.
Flowers enshrine my heart between their petals; that's why my heartbeats love them so much - Munia Khan
Flower Photography


My Front Yard
This year we decided to try1 turning our front yard into a pollinator garden - good for pollinators, good for the environment, and good for my photography. We had some flowers bloom but, overall, it didn't work out. I was able to get some images before we mowed everything down and will consider a saparte blog post for them in the future.We have quite a few ferns growing in the flower beds, and I have made many images of them; Fern Arch is one of my favorite images. I know there are many different ferns, and their bracken relatives, but I have no idea which this may be. If anyone reading this knows it's name, please let me know in the comments below or via email.
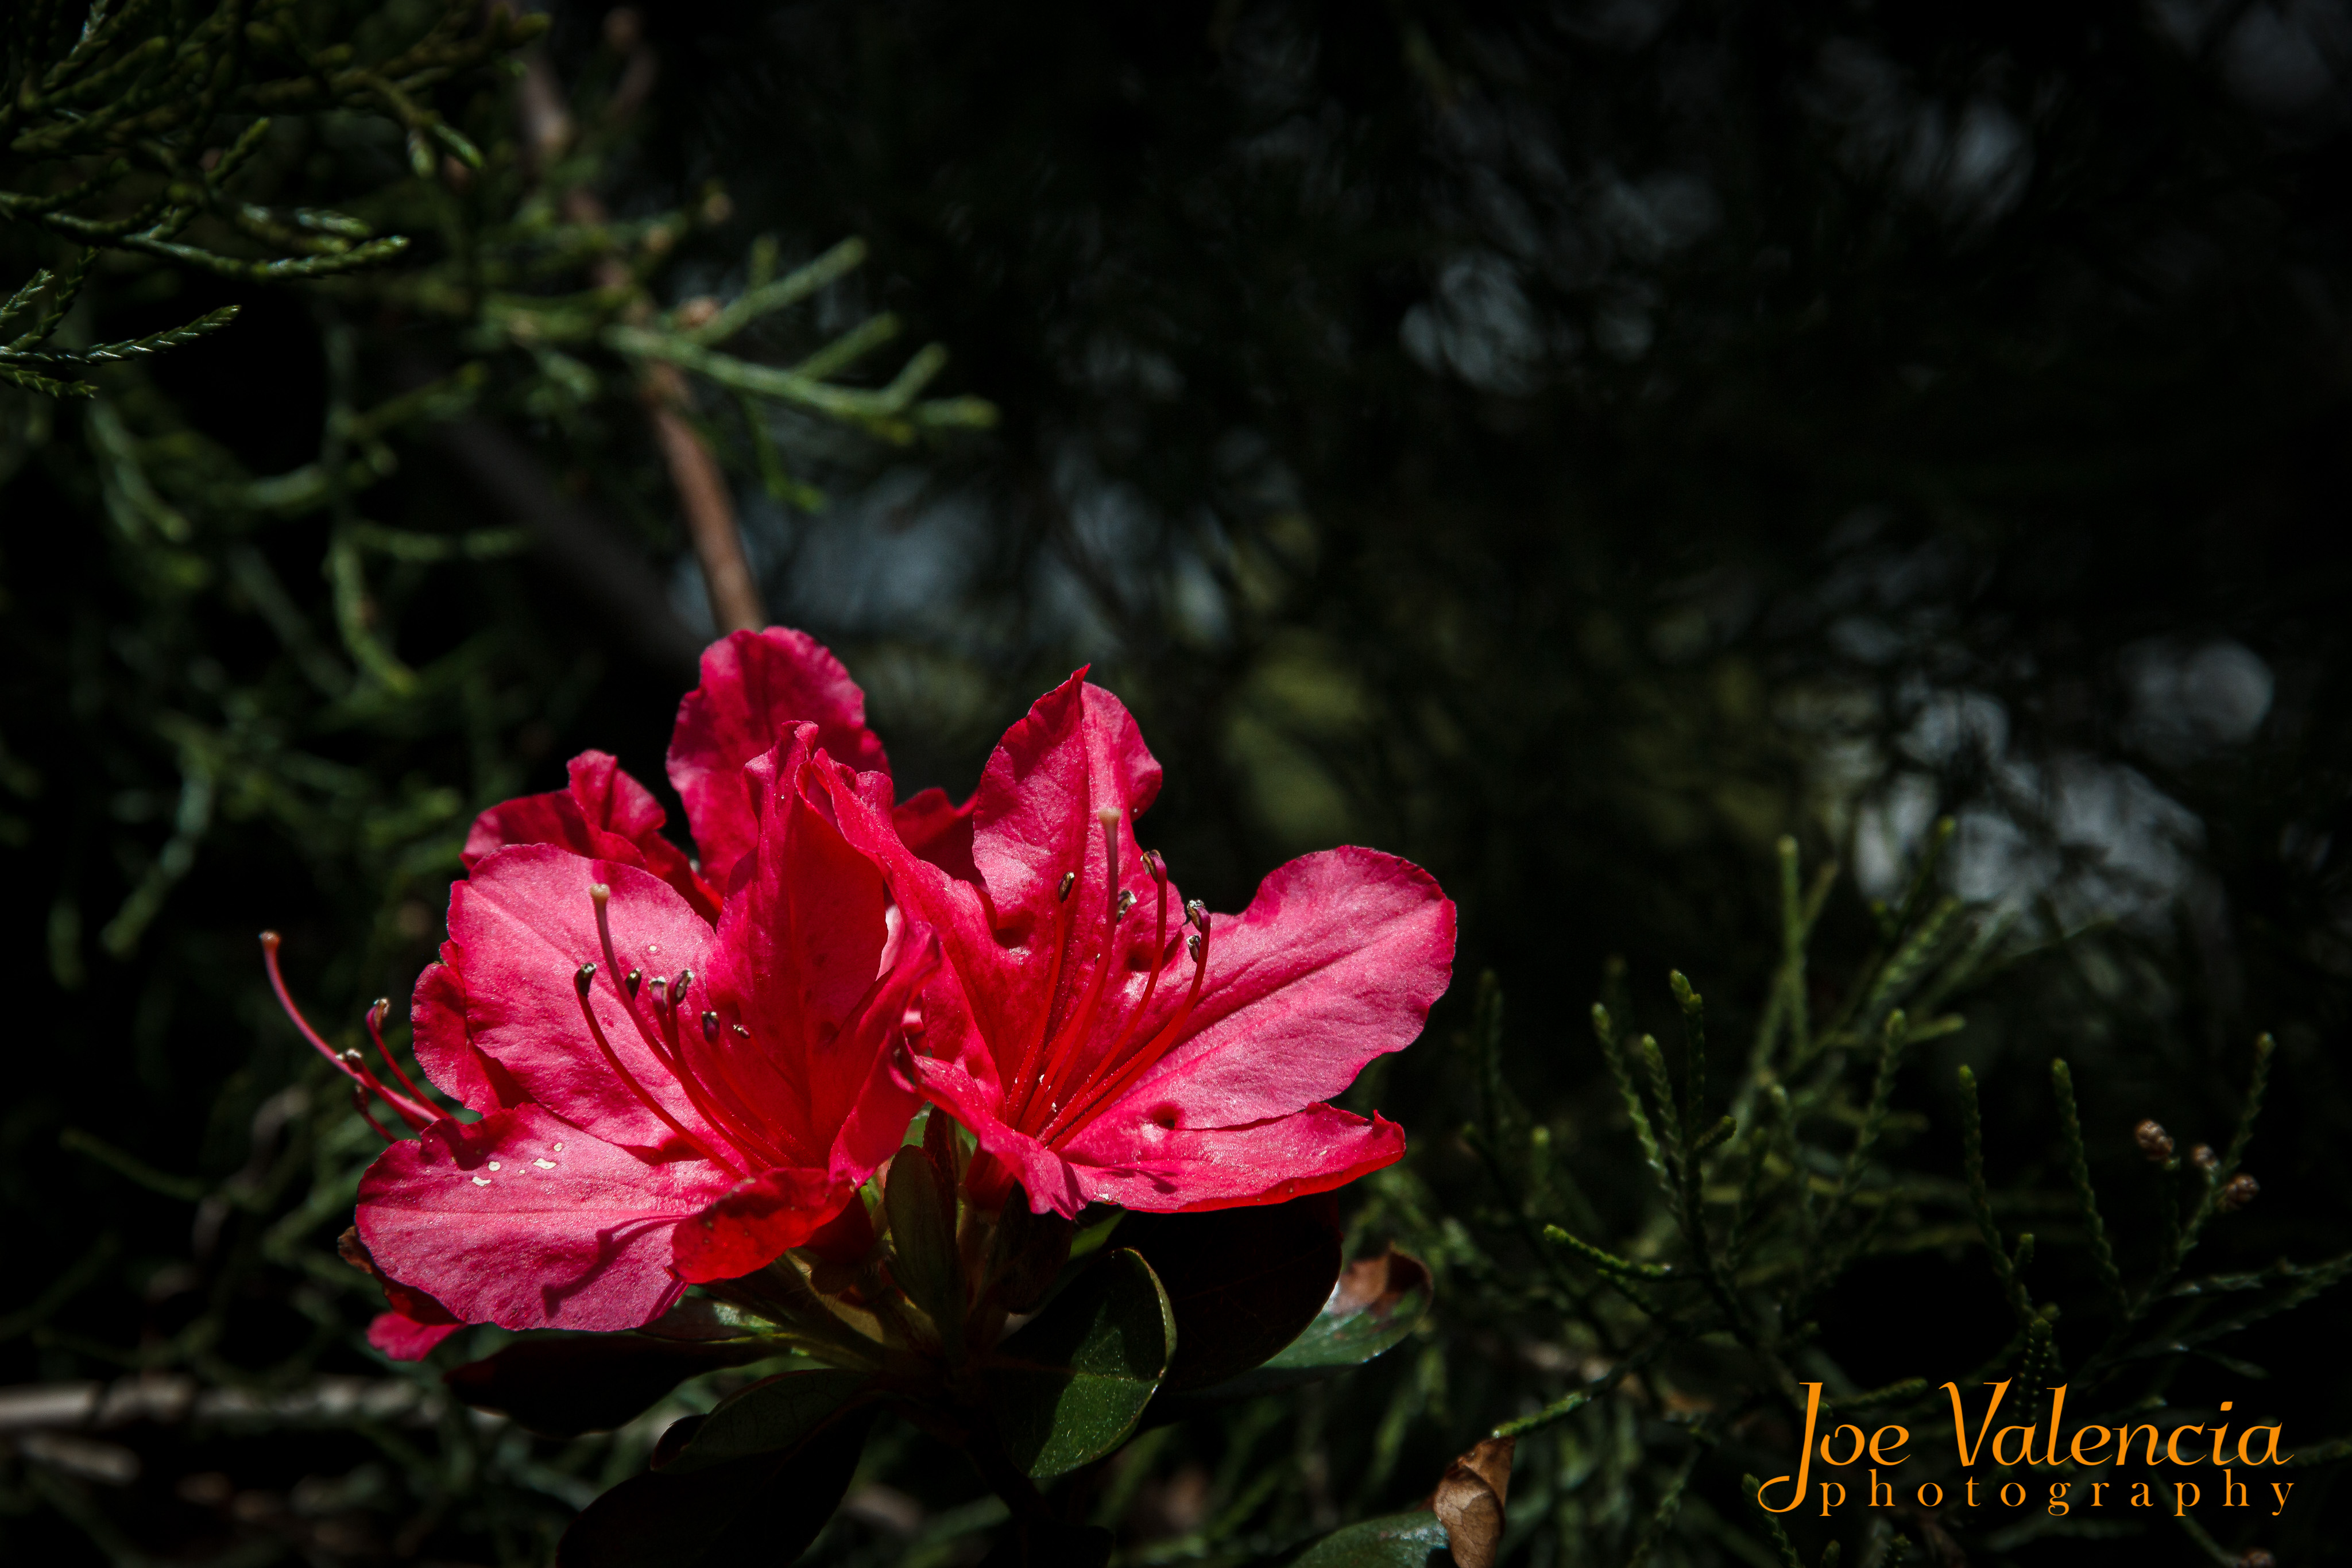
The orange daylily shown here has been growing at the end of my driveway for the last few years but I forgot all about it because the azalea was doing a good job of hiding it. 😉 I was on my way back from getting the mail one afternoon when it popped out and flagged me down. I went out the next day but it was looking a bit beat up but there were more buds getting ready to shine. I checked one day and found this beauty. These are focus stacked macro images made using extension tubes in the form of my Vello Macrofier3 and edited using my "dark and moody" flower preset in Lightroom.

My Porch
My wife has a green thumb and is growing a variety of plants on our front porch, giving me a lot of subjects to chose from. These four (4) images are just a small glimpse into what I have captured over the last few years. In reality, the front porch has been a great source of inspiration since I began working from home at the onset of the Great Pandemic of 2020. Yakkety Yak is a Spotted Dead-nettle (Lamium maculatum) that has growing in two (2) porch rail containers for a few years now. I enjoy following the life-cycle of this plant and trying to get as close as I can to capture all of the fine details and the color is so vibrant. The best part about having this plant in the rail planter is that I don't have to get down on the ground; getting down isn't a problem but getting back up could be entertaining to see for anyone watching. Dark and Moody Tulip and The Heart of the Tulip are both the same potted Orange/Red Tulip that my wife brought home one day. The day I made these images it was rather windy so I brought the plant inside, using our picture window as my sole light source. One of the biggest hurdles with flower photography, especially macrophotography, is battling wind. There are times when I go outside and don't feel even a hint of a breeze but, upon magnifying the image on the back of the camera to focus I can see there is enough to make the flower sway. The Ready to Strike, a Purslane plant, is the most recent addition to our porch collection. This is a plant that I had never seen before but my wife grew up with her grandmothers growing it. While the blooms are quite beautiful - vibrant red with a yellow center - I happened to see this leaf one afternoon while exploring the best composition for a macro image of a blossom. When I saw this in the viewfinder I saw a snake getting ready to strike. I tried to get a bit more light on the stem but not sure the image would be better, or worse, had I been successful.


Deep Cut Gardens
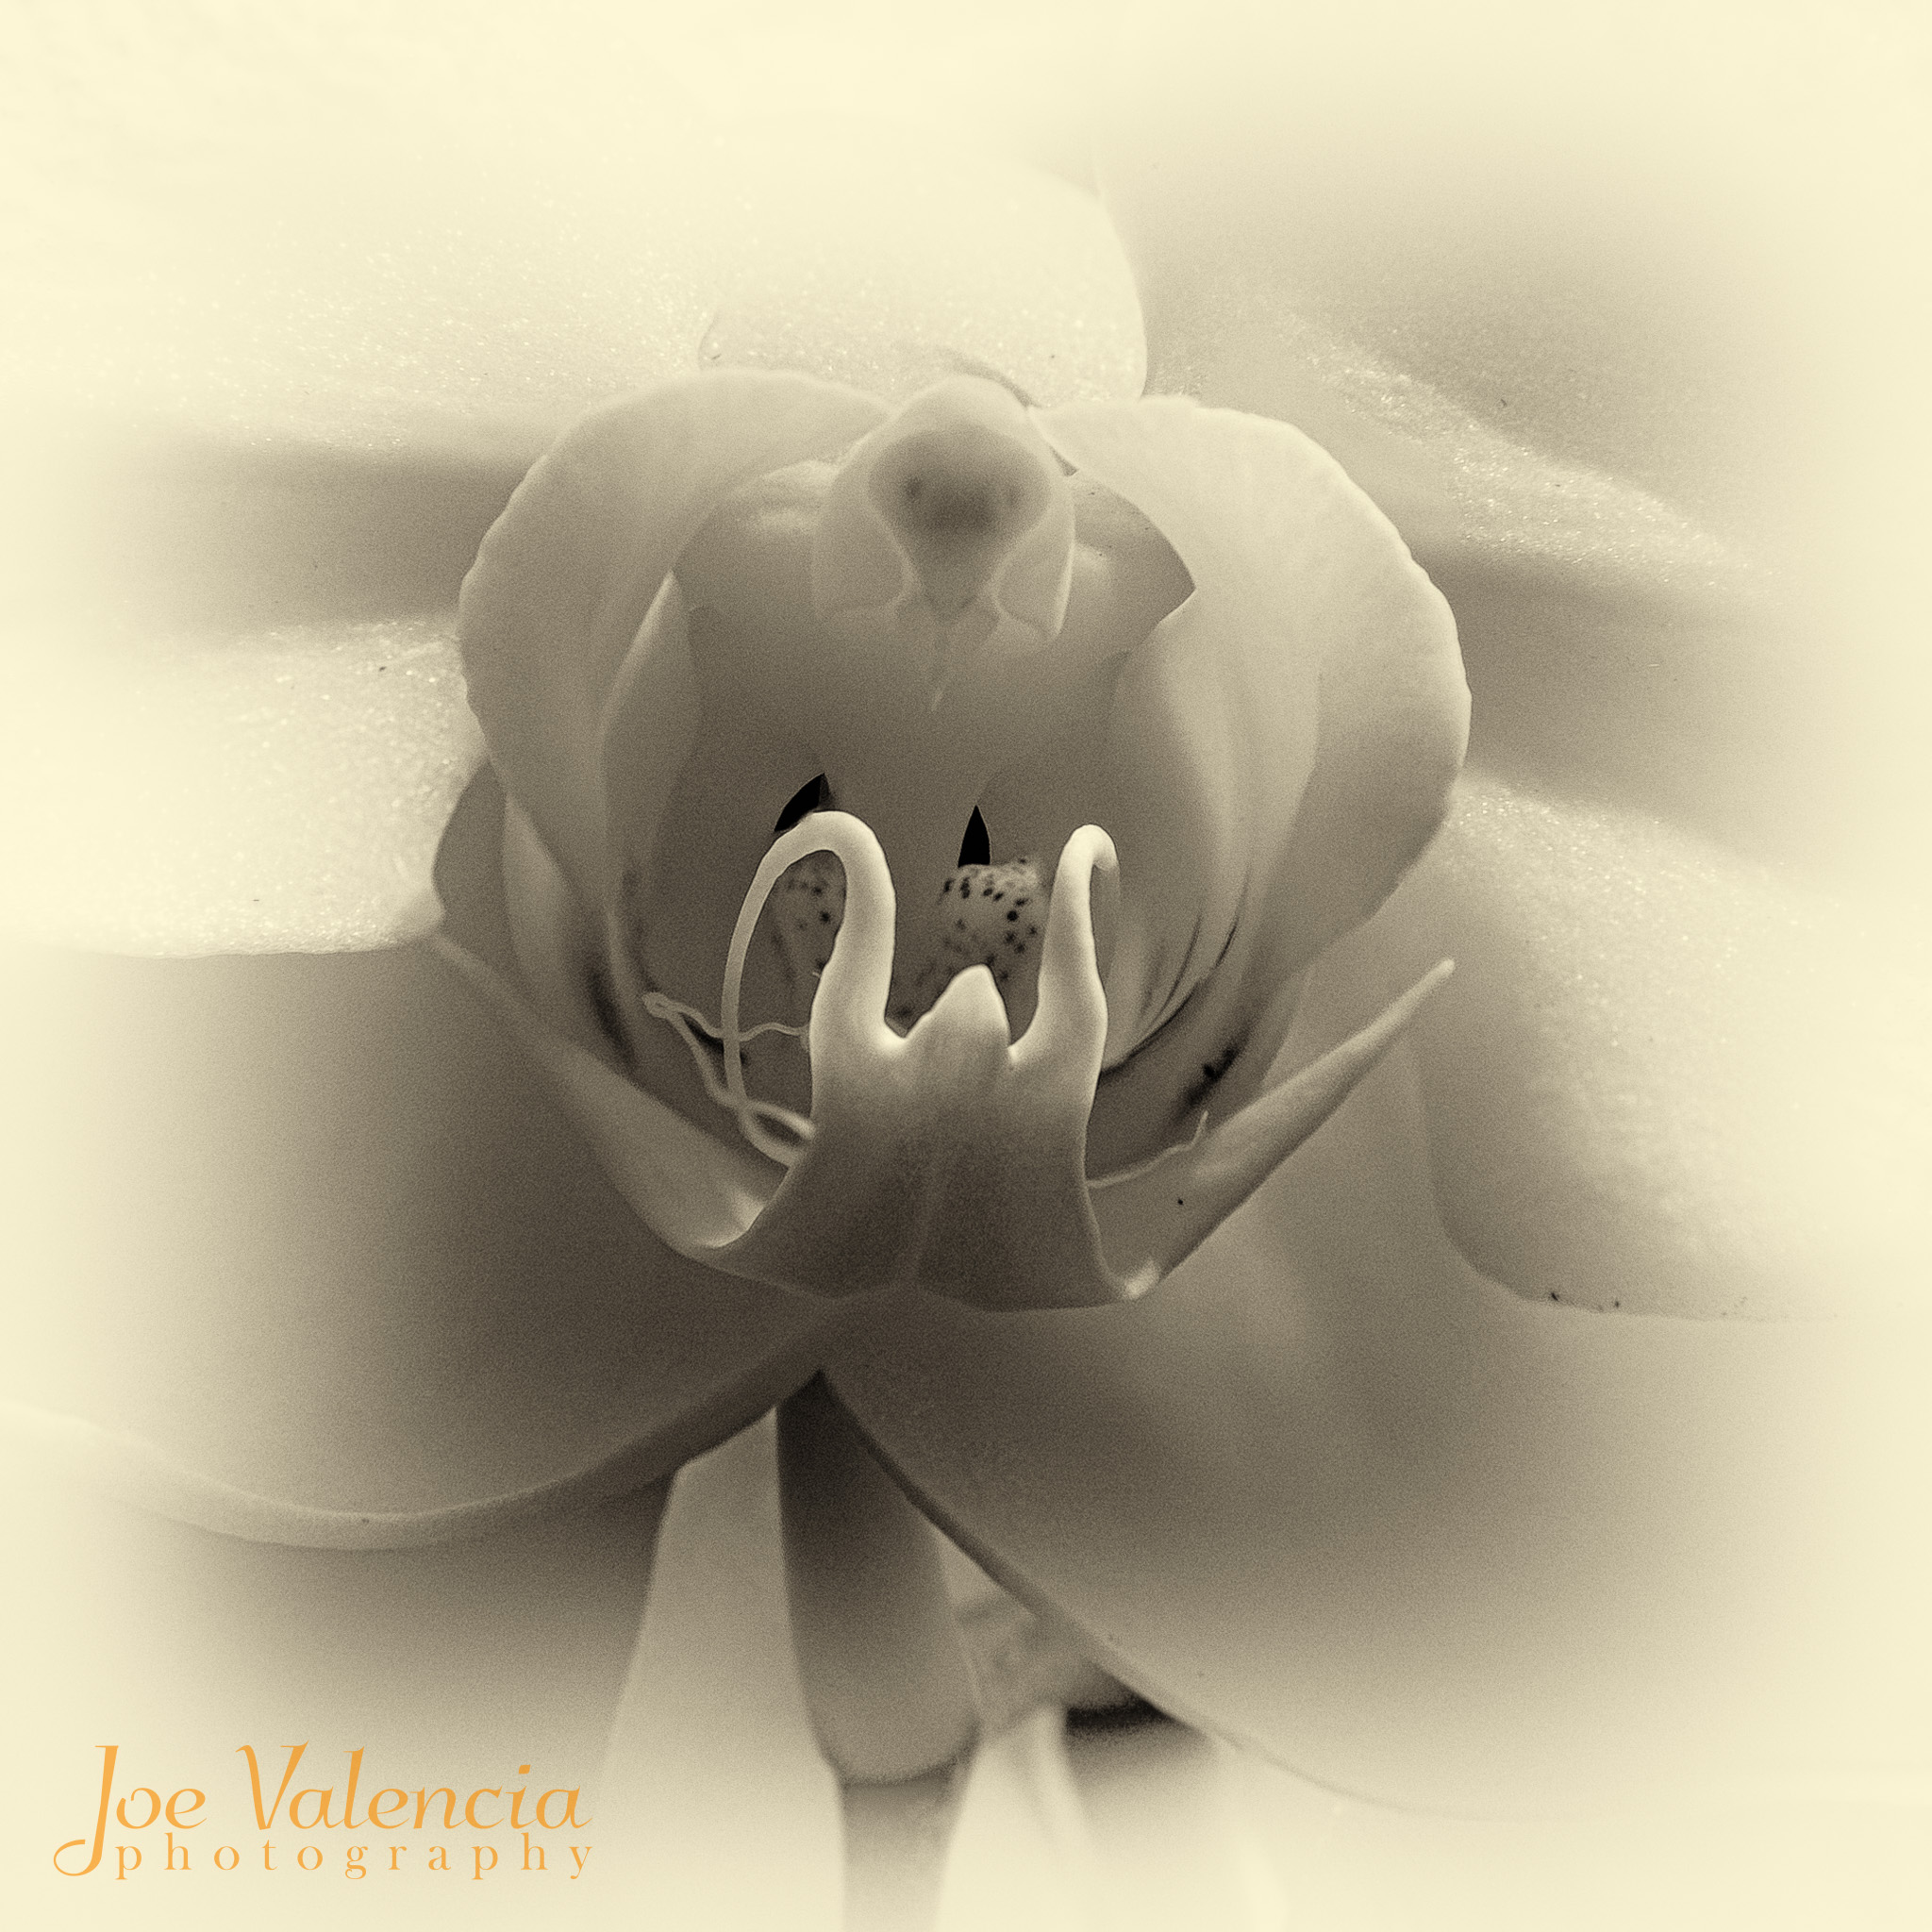
My wife and I love going to Deep Cut Gardens, there is always something there to see. We will usually start in the parking lot (where else?) and take the walkway past the Koi Pond, make a quick stop in the Visitor Center, and then down the stairs to the Rose Partarre. Depending on the weather, and what is blooming, this could take a while. There is a beautiful Japanese Maple tree that I have been trying to get a good image of but so far, I have come up short. I am determined that some day I will come home with a winner. The last time we visited I went straight to the greehouse. This proved to be a great idea but it sure was hot! One of the biggest advantages of the greenhouse is, of course, there is no wind to contend with but it is also usually fairly empty. The greenhouse has a variety of orchids growing, this White Moth Orchid is one of my favorites. The orchid is one flower that begs to be looked at closely - the black and white macro image shows why. To me, it looks like a bird (or a moth, maybe) swooping in to capture something in it's claws. The black and white treatment really brought out the "eyes." The black and white conversion was done with Nik Controls Silver Efex Pro 2 as a plug-in in Lightroom. The Echeveria gibbiflora (I think I have identified it properly, if not please let me know) was the first thing I saw entering the greenhouse; I'm not sure if I have ever photographed a succulent before that day but they are certainly on my radar now. It isn't hard to see how Mother-of-Pearl" plant, aka Ghost plant, got it's name; with it's pale leaves it is a stark contrast to the Echeveria. The images here are just a small sampling of what can be found in the greenhouse and a very small percentage of what you will see at Deep Cut Gardens. For more information about Deep Cut Gardens, you can check out their website - here - or one of my previous posts shown below.


Random Images - not really flowers
I have a couple more images that I really like but they don't necessarily fit with the "flower" theme. If I am being honest, I am adding this section so that I can use this quote that has been sitting in my quotation database for a while.The difference between a flower and a weed is perspective. - Christian BalogaFor years I watched my father, and our neighbors, laboring to rid the lawn of "weeds" - dandelions in particular. When I bought a house of my own I started out doing the same but have since seen the light. I have captured many images of weeds over the years and will continue to do so. One of the benefits, other than having subject matter, is that many are beneficial plants for pollinators. I never understood how many self-identified "environmentalists" I have met are the same ones killing off the weeds. 😒 I am overjoyed when I find a dandelion that has gone to seed, the detail is incredible. Normally I will only stop and look at those with a "full head" but this particular one seemed to grab me by the ankles and not let me walk by. Perfection is so over-rated. The Japanese Honeysuckle was made while on a scouting excursion along the Secaucus Greenway with a friend. The boardwalk entrance is found within Mill Creek Park in Secaucus and I thought there may have been a sunset composition somewhere in the park or on the boardwalk. I had stopped to check a potential composition and just happened to look down - that is when I found this honeysuckle growing on a downed log about six feet below. These two (2) images are great examples of why we - photographer or not - need to keep our heads on a swivel, looking all around, up-and-down while we are out in nature. You never know what you are going to find.

In Closing....
I hope you have enjoyed seeing small parts of the world through my lens and hope I have encouraged you to slow down and enjoy the natural world around us.- We tried to create a pollinator garden but, unfortunately, it didn't work out. We are going to try again next year.
- The Heart of the Tulip was made using Vello Macrofier3 with my 18-135mm zoom @ 135mm.
- See Still-Life Macro Photography with the Vello Macrofier and Product Review: Vello Macrofier for Canon EOS (UPDATED!) for information.
- Wishes in Waiting was made with the Vello Macrofier and Canon EF 75-300mm f/4-5.6.
If you enjoyed this post, please do me a small favor and share it with others. You will find buttons for many of the popular social media platforms at the bottom of this post. Thank you!
- Technical information (unless otherwise specified):
- All images were made with a tripod, unless specified otherwise
- Camera: Canon EOS Rebel T3i (crop sensor - 1.6 factor)
- Lenses: Canon EF-S 18-135mm f/3.5-5.6 IS
- Tripod: MeFOTO Roadtrip Classic
- ISO 100
- Manual Exposure and Manual Focus
- All focal lengths are as-recorded - the full-frame equivalent in parenthesis.
- Shutter tripped with wired shutter release, unless handheld.
All photos are copyright Joseph S. Valencia, All Rights Reserved. They may not be used in any way without express written permission of the photographer. If you wish to use any of the photos you may contact the photographer at valencia32photo@gmail.com