Azaleas
Azalea Japonica
It was two (2) years ago that I published
Lily of the Valley closely followed by
Backyard Discoveries here; I also published
My COVID-19 Backyard Boredom Project on my other blog. This blog post is a continuation of the project.
Capturing the Images
I live in a neighborhood where everyone has a mailbox at the end of their driveway, most with small flowerbeds planted around them. We have daffodils and a clematis planted in our bed and I often find myself sitting in the street setting up my tripod during various stages of the daffodil's life. I can only imagine how entertaining it must be for any neighbor watching as I try to stand up. 😉 😄 The other side of the driveway has two (2) small shrubs (I forget the name, but they are some type of dwarf shrub), the azalea bush, and an evergreen tree that grew up out of nowhere. I never really paid much attention to that side of the driveway but something caught my eye the other day and I am glad it did.
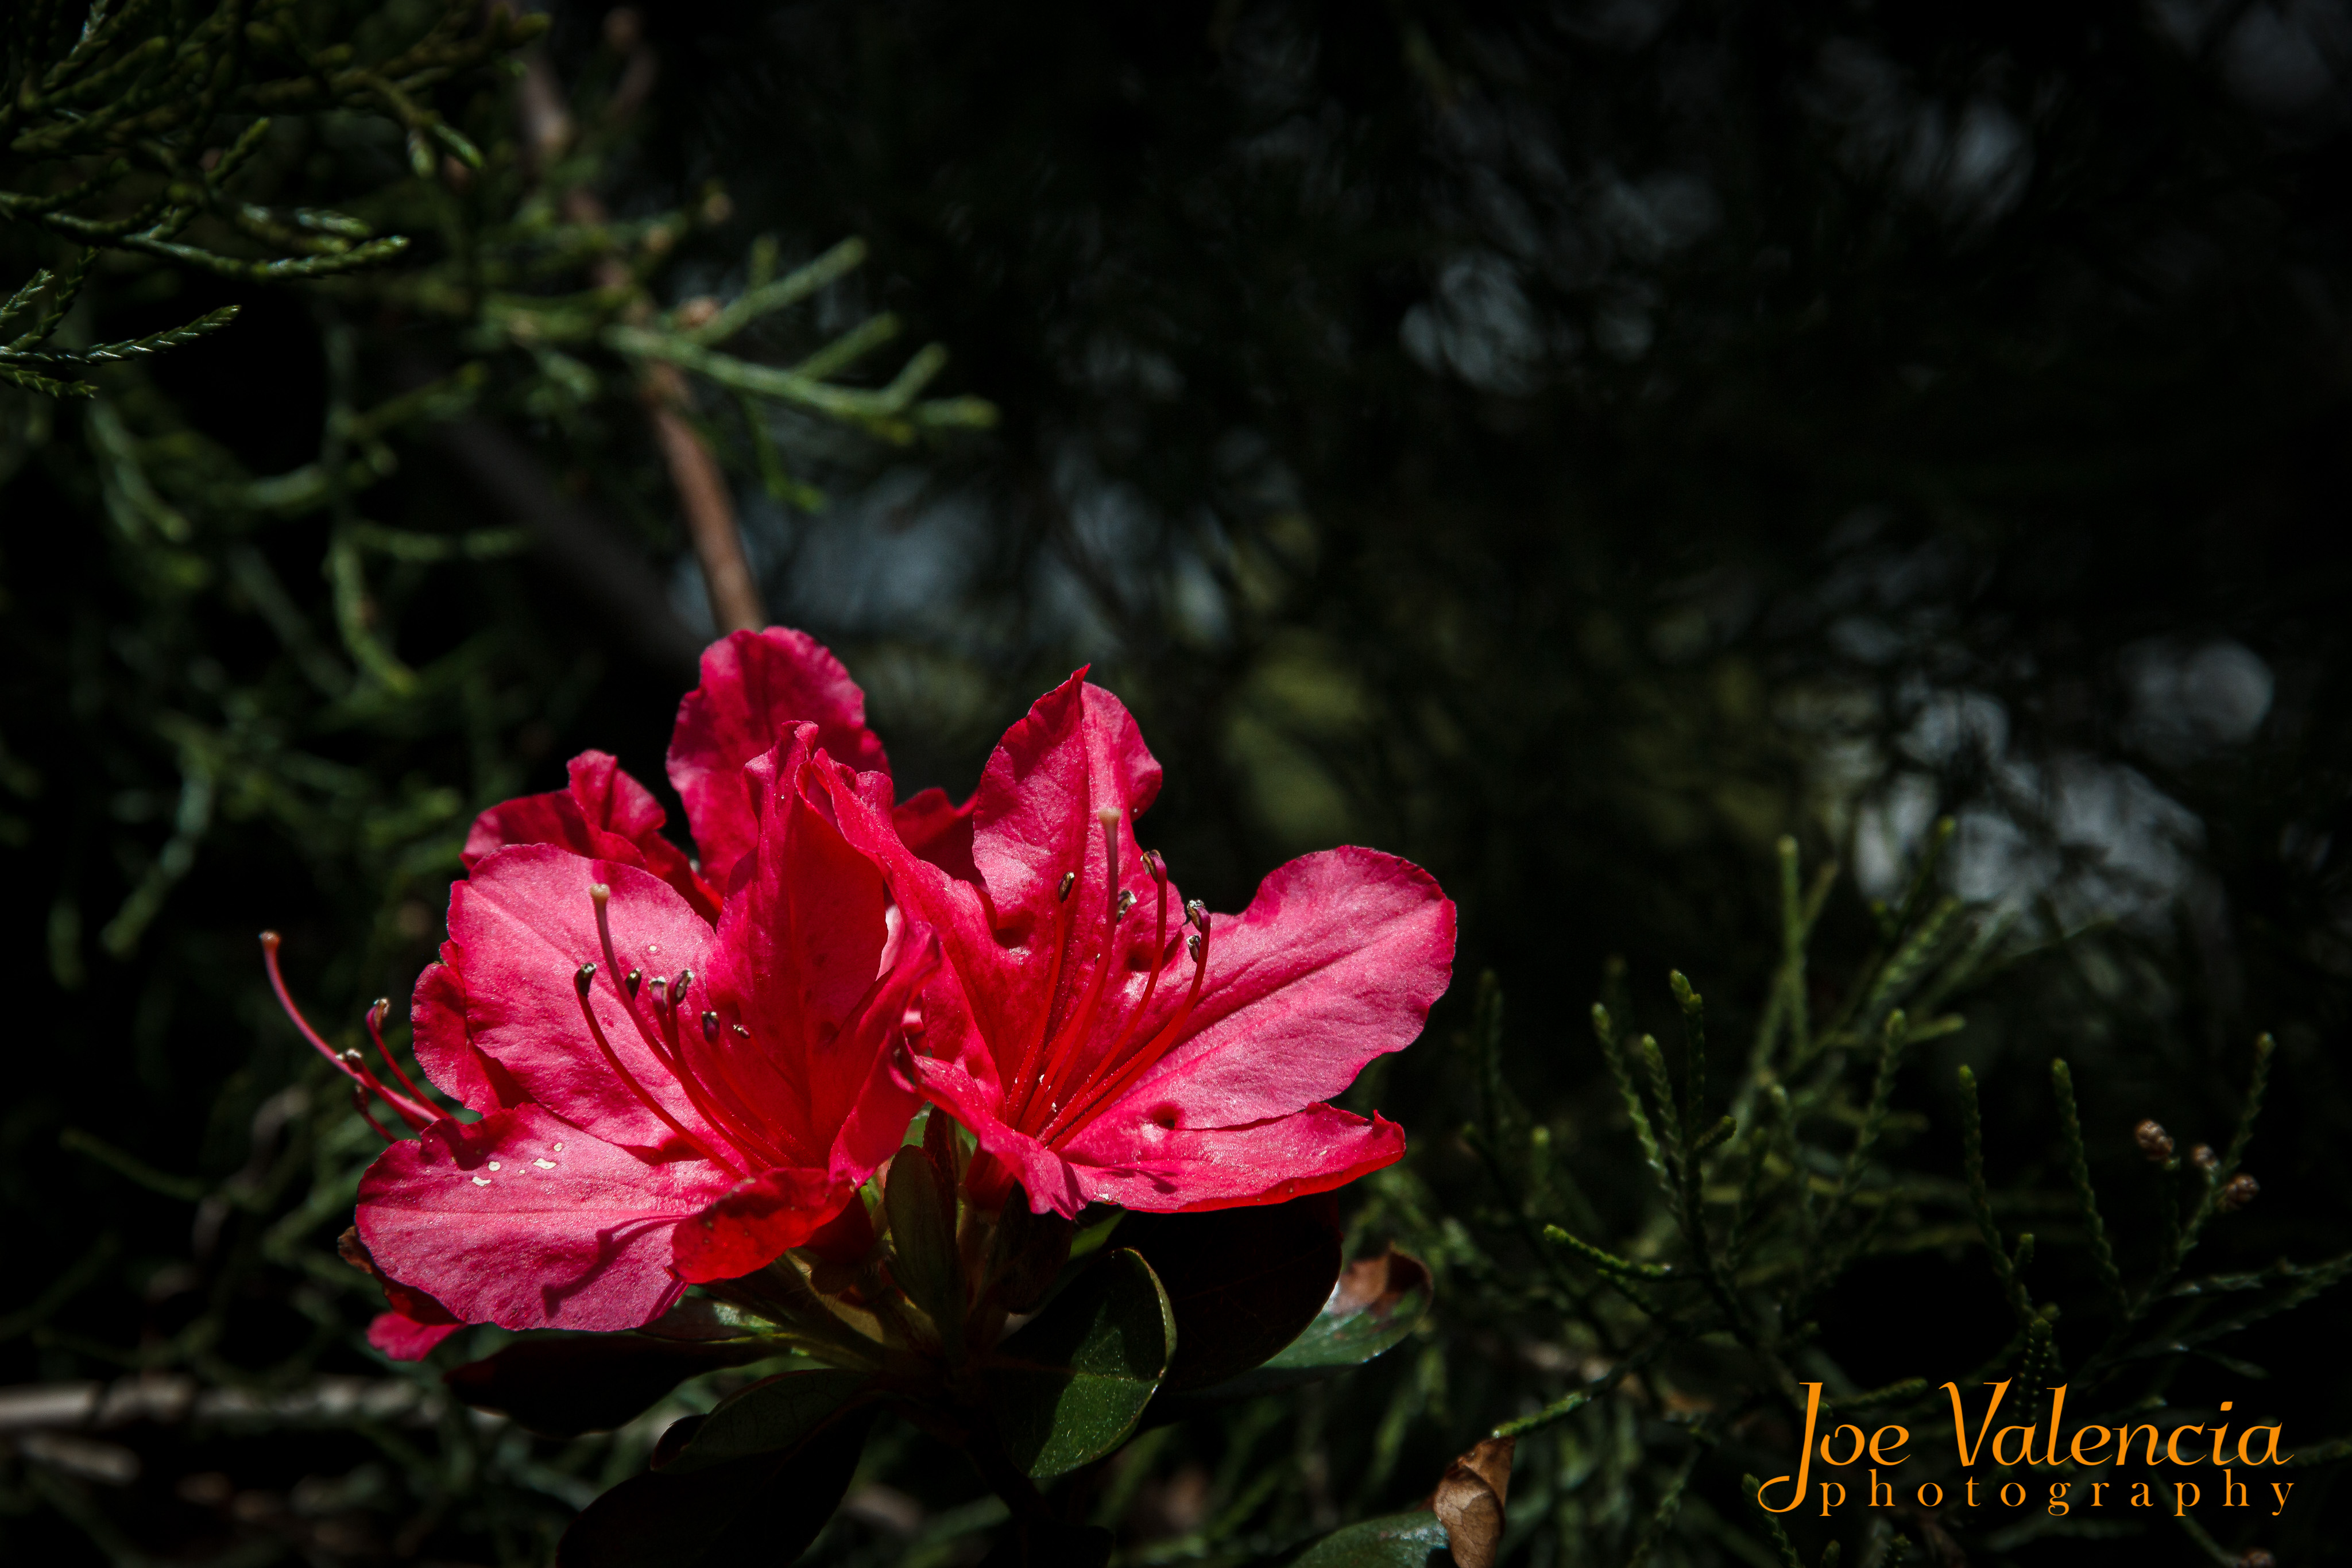
I noticed the red petals of the azalea against a dark green background, and wondered how many times I have looked at them but never really saw them. I ran (okay, I didn't
run, I slowly walked) into the house, put the mail on the table, grabbed my gear and headed back out. It was an overcast day with a bit of a breeze making it challenging to get sharp images - I like to keep my ISO at 100 whenever possible, going as high as 400 if I have to. For those blooms in deep shadow I used a large aperture in order to keep the shutter speed up, something I usually don't do with flowers. The limited depth of field turned out to be a good thing in many of the images, would you agree?
The next day I was back out to the azalea bush again, the sun was out and there was almost no wind. The images used here were made over this two-day period.
Processing the Images
When I started my digital photography journey I shot exclusively in JPEG, mostly because I didn't understand RAW but also because I wasn't a firm believer in Photoshop. I was of the opinion that it was "cheating" and felt that way until a friend brought up Ansel Adams. Ansel was not only a master photographer, he was a master printer; spending hours perfecting the print with dodging and burning, along with other techniques. I realized that Photoshop, and Lightroom, were digital darkrooms and that it was okay to use them.
The majority of my post-processing is done in Lightroom, the only image in this post that saw any Photoshop work is the first one - that is actually a two-image focus stack that was blended in Photoshop after some editing in Lightroom.
Ordinarily, I would open up the shadows, bring down the highlights, bring up the "whites", darken the "blacks" and then do some fine-tuning of the overall exposure, contrast, vibrance, etc.... That was my "standard" editing workflow for quite some time; about the time of my "backyard discoveries" project I started modifying how I edit my flower images and I couldn't be happier with the results.
I start in the
Calibration panel by tweaking the
Red Primary,
Blue Primary, and
Green Primary saturation - I don't do anything with the hue or shadows in this panel. It is then that I go up to the
Basic panel setting my white balance and then using "auto" to see what Lightroom thinks the image should look like and give me a jumping off point. This is the point that I start to deviate from my "normal" workflow.
Now I darken the overall image, especially the shadows. I use masking - often a
radial filter - to work on my subject, brightening it up, opening up some of the shadows, bringing up some vibrance and fine-tuning the contrast. Depending on the image, I may then duplicate this mask, invert it, and further darken the background while decreasing saturation. I like the way this isolates the subject and creates a
moody feel to the image. I have the RAW image, as-well-as the finished image, shown here so that you can see the difference.
The Rest
You can see more images from the two days I spent shooting the azalea bush by visiting my Instagram account - specifically
here and
here. You can see some other examples of this editing technique
here and
here.
If you enjoyed this post, please do me a small favor and share it with others. You will find buttons for many of the popular social media platforms at the bottom of this post. Thank you!
Technical information:
- Camera: Canon EOS Rebel T3i (crop sensor - 1.6 factor)
- Lens #1: Canon EF-S 18-135mm f/3.5-5.6 IS
- Lens #2: Canon EF 75-300mm f/4.5-5
- Tripod: MeFOTO Roadtrip Classic
- ISO 100 (unless otherwise noted)
- All focal lengths are as-recorded - the full-frame equivalent in parenthesis.
- Shutter tripped with wired shutter release.


Insightful as always! Thank You Joe.
ReplyDeleteThank you! I am glad you enjoyed it.
Delete